Key Takeaways
- Alexa’s new Map View feature allows users to scan their homes and create advanced maps within the Alexa app.
- Scanning is easy and accurate, with the app detecting furniture, walls, and doors.
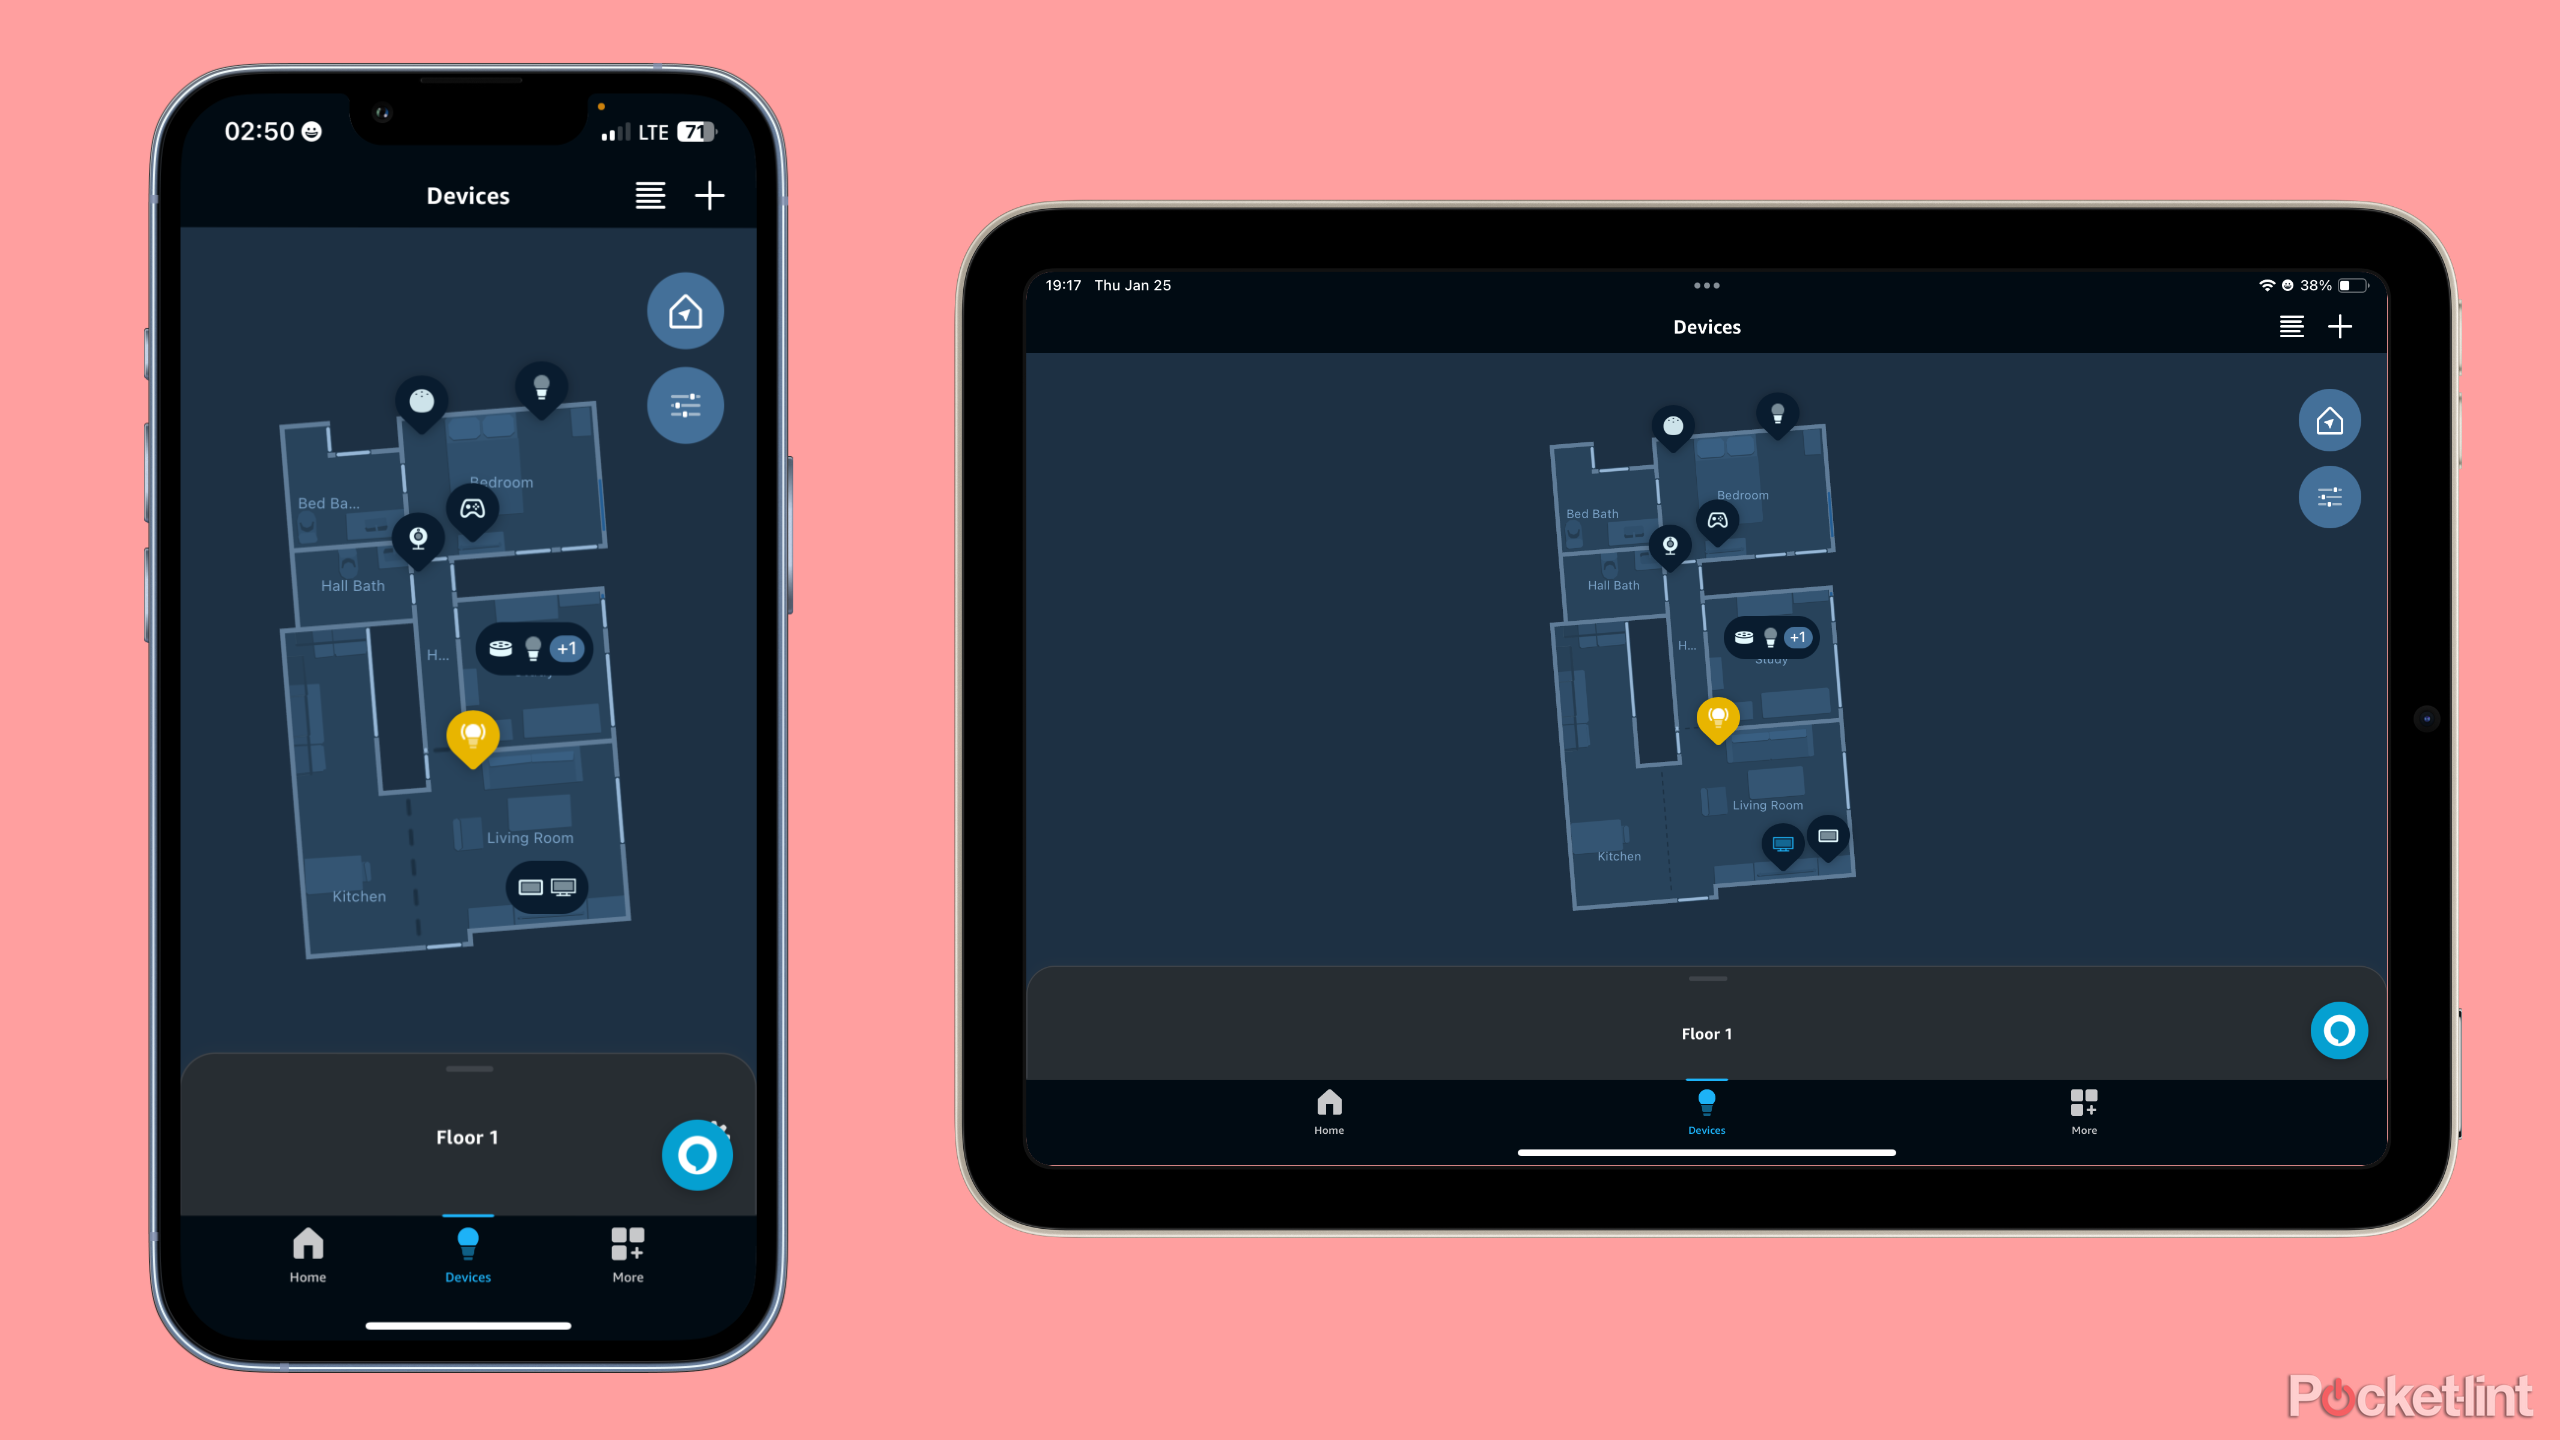
- Map View provides a more organized and visual way to view and control smart devices in different rooms and floors of the home.
Amazon’s Alexa smart home system will soon receive a major new feature in the form of Alexa Map View. Map View is a feature that allows users with an iPhone Pro (12th generation and newer) or iPad Pro (4th generation and newer) to scan their homes to create advanced maps that are viewable within the Alexa app.
Amazon is currently previewing the feature with select customers who signed up for early access. Once Map View rolls out to your device, the option to scan your home will appear within the Alexa app — provided you own a compatible iPhone or iPad.
Best smart home hub: Why Amazon’s new Echo hub already wins top pick
These smart home hubs make home automation even simpler.
How to scan in your home with Alexa Map View
Scanning your home with Alexa Map View is a breeze, and the feature is incredibly accurate at detecting furniture and other objects within your space. Getting in and beginning the process is also simple.
- Open the Amazon Alexa app.
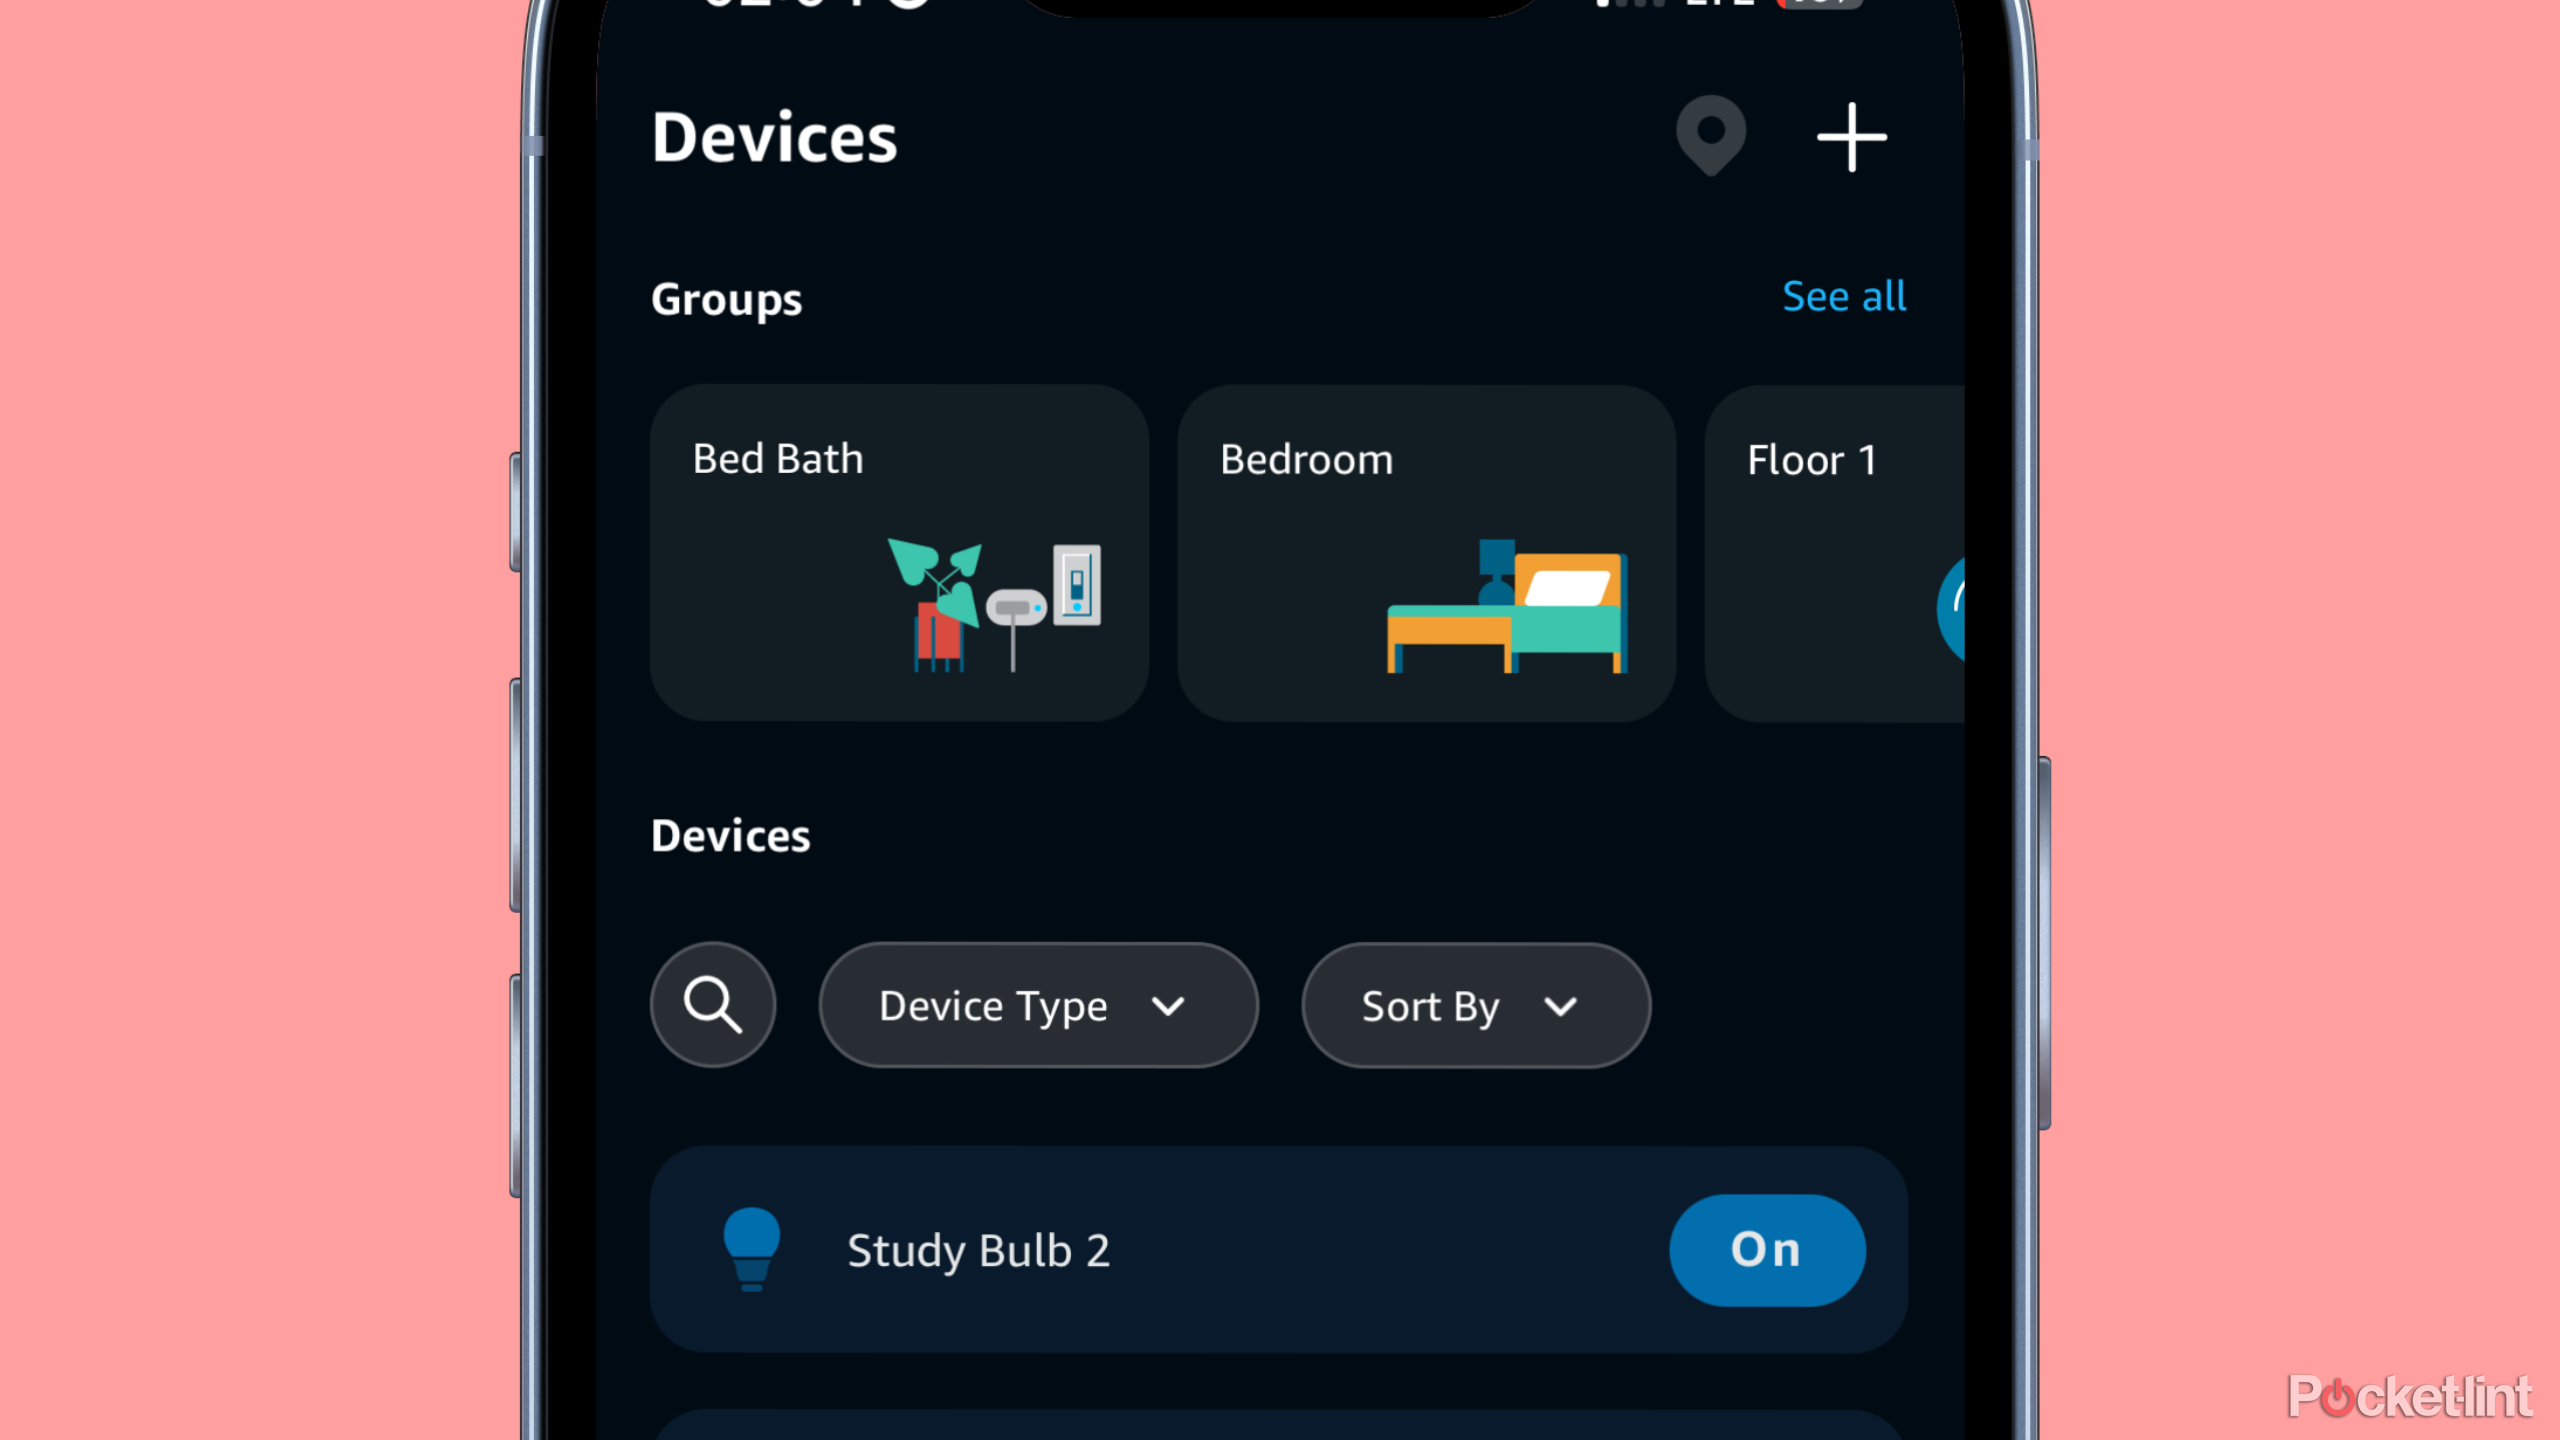
- Tap Devices.
- In the top-right corner, tap the map pin icon.
- Choose the floor of your home you want to scan.
- Begin scanning the rooms of your home.
- Be sure to take your time to allow for maximum accuracy.
Best practice tips when scanning
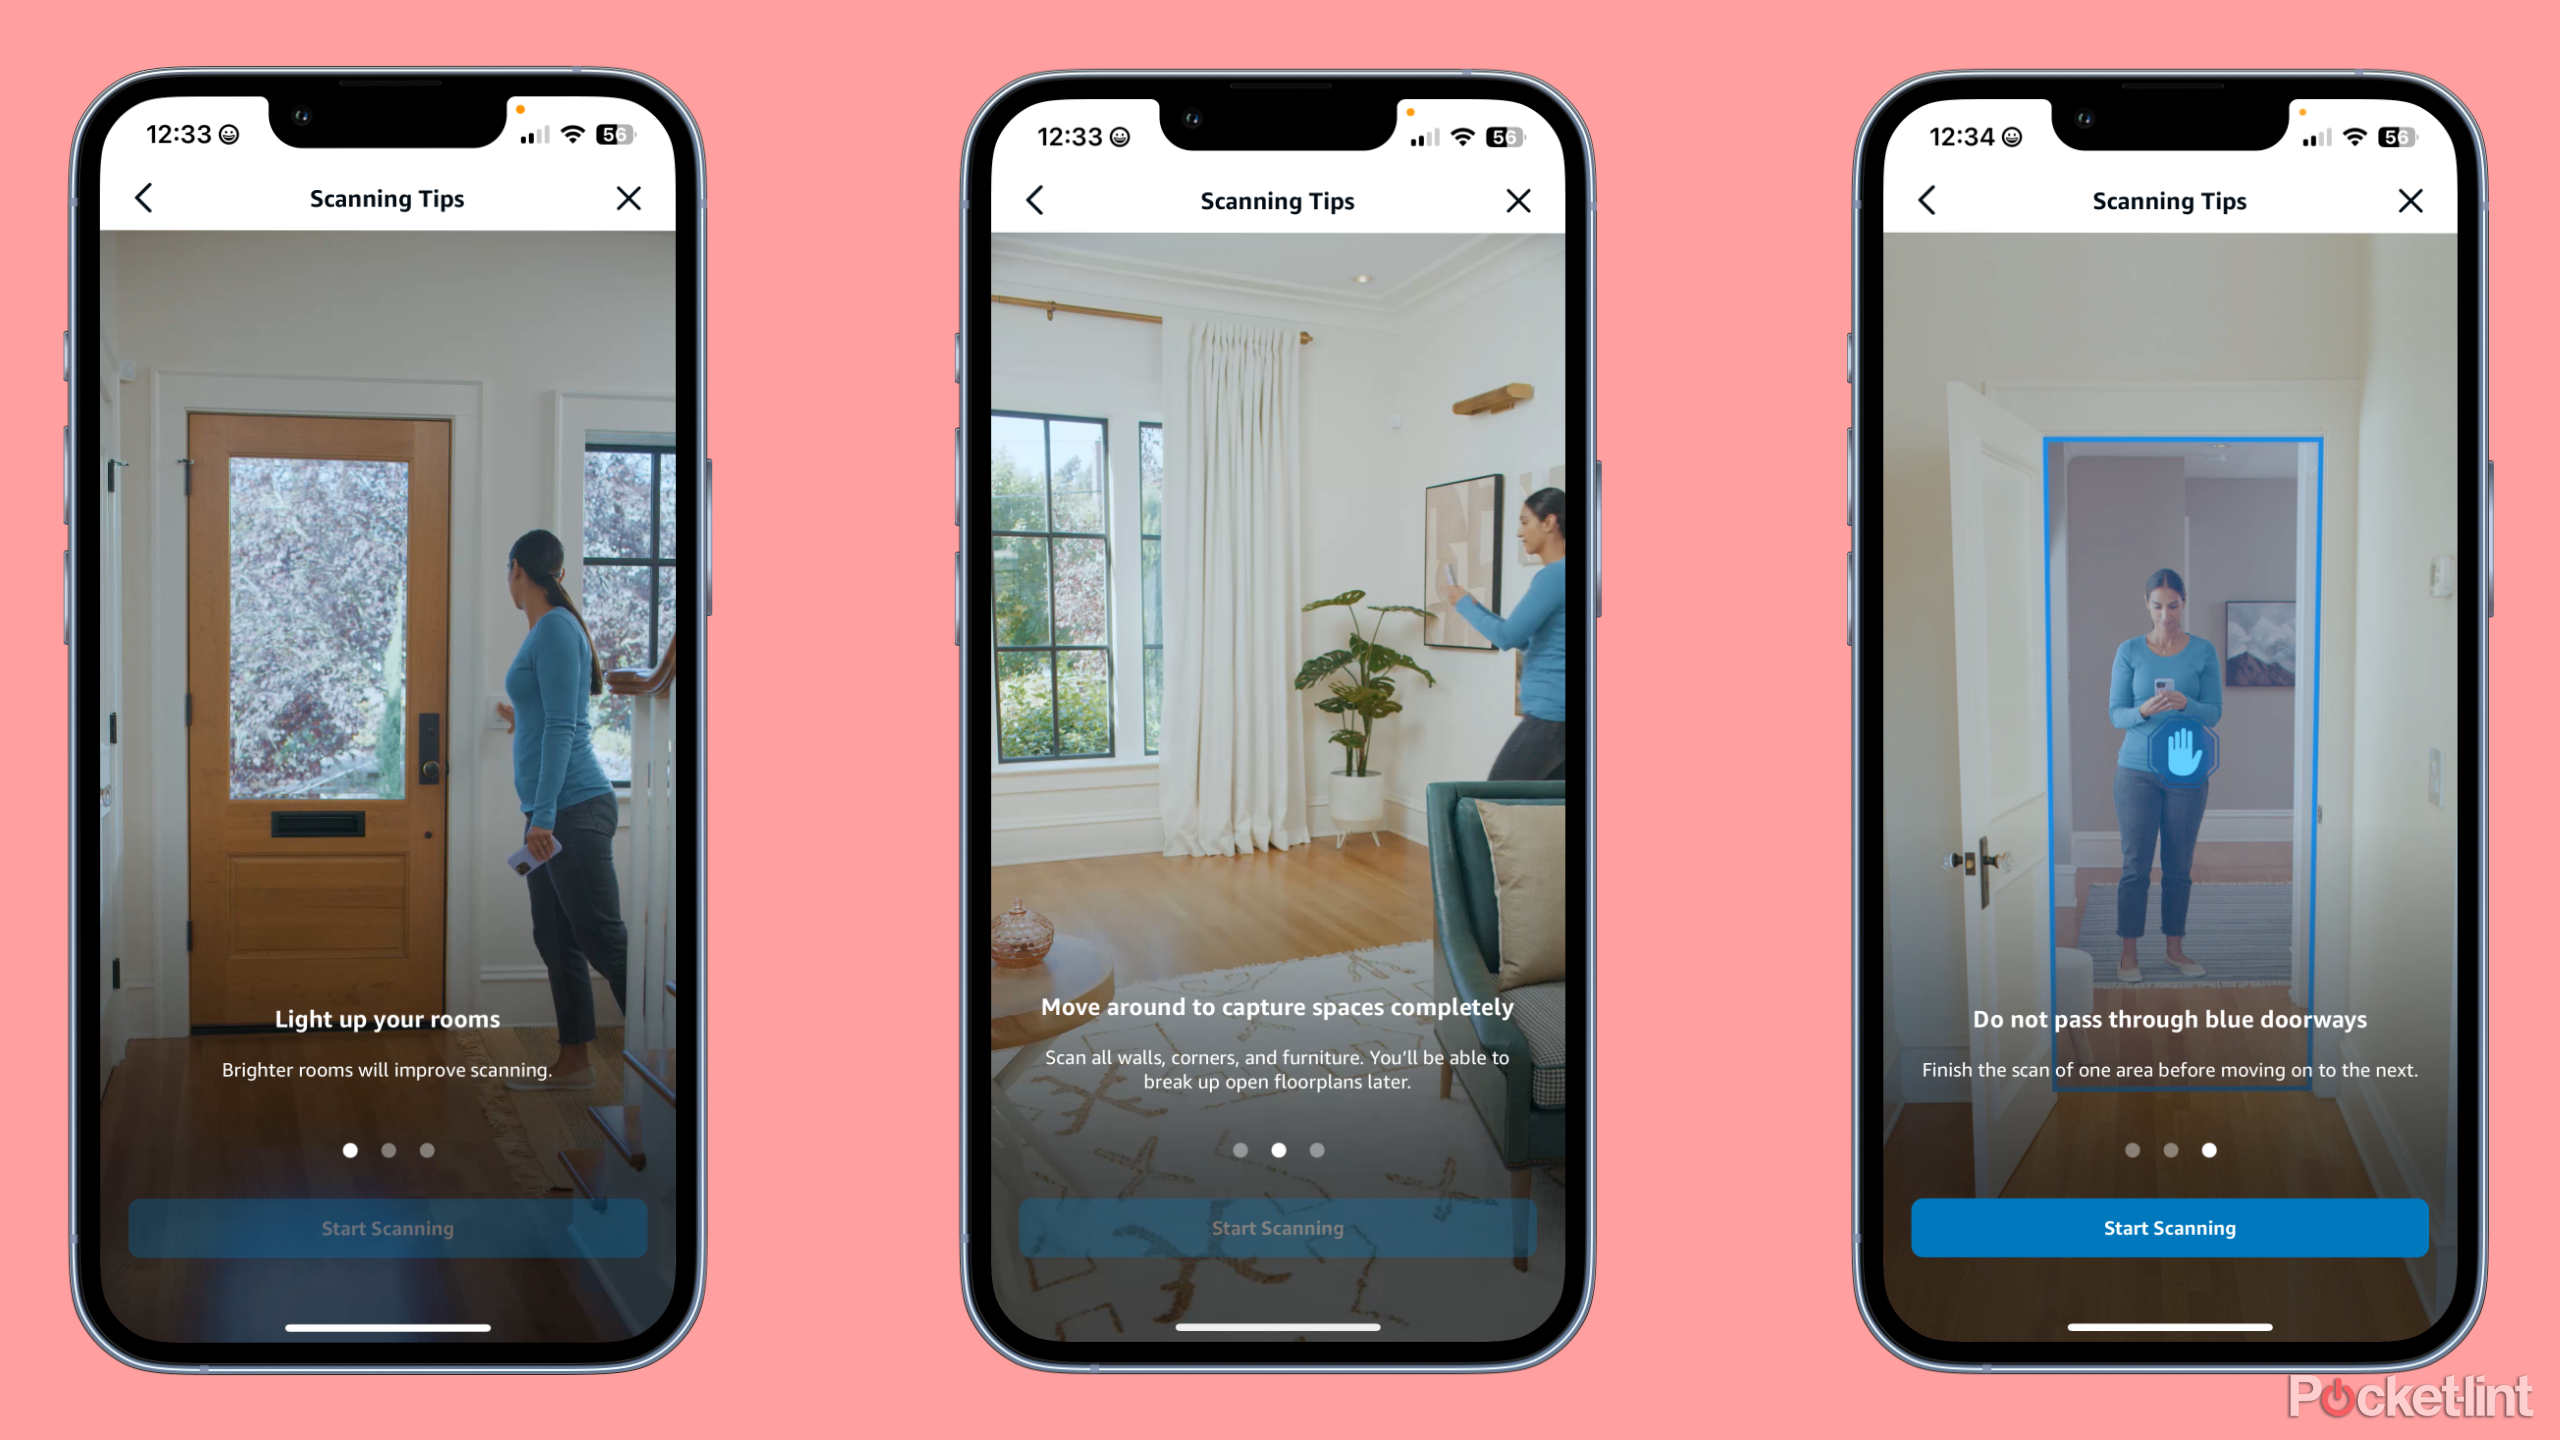
After tapping into the Map View menu, the Alexa app will show you a detailed tutorial with videos and images on how to go through and scan your home. Scanning is as simple as panning your phone’s camera around a room while the app detects the placement of walls, doors, and furniture.
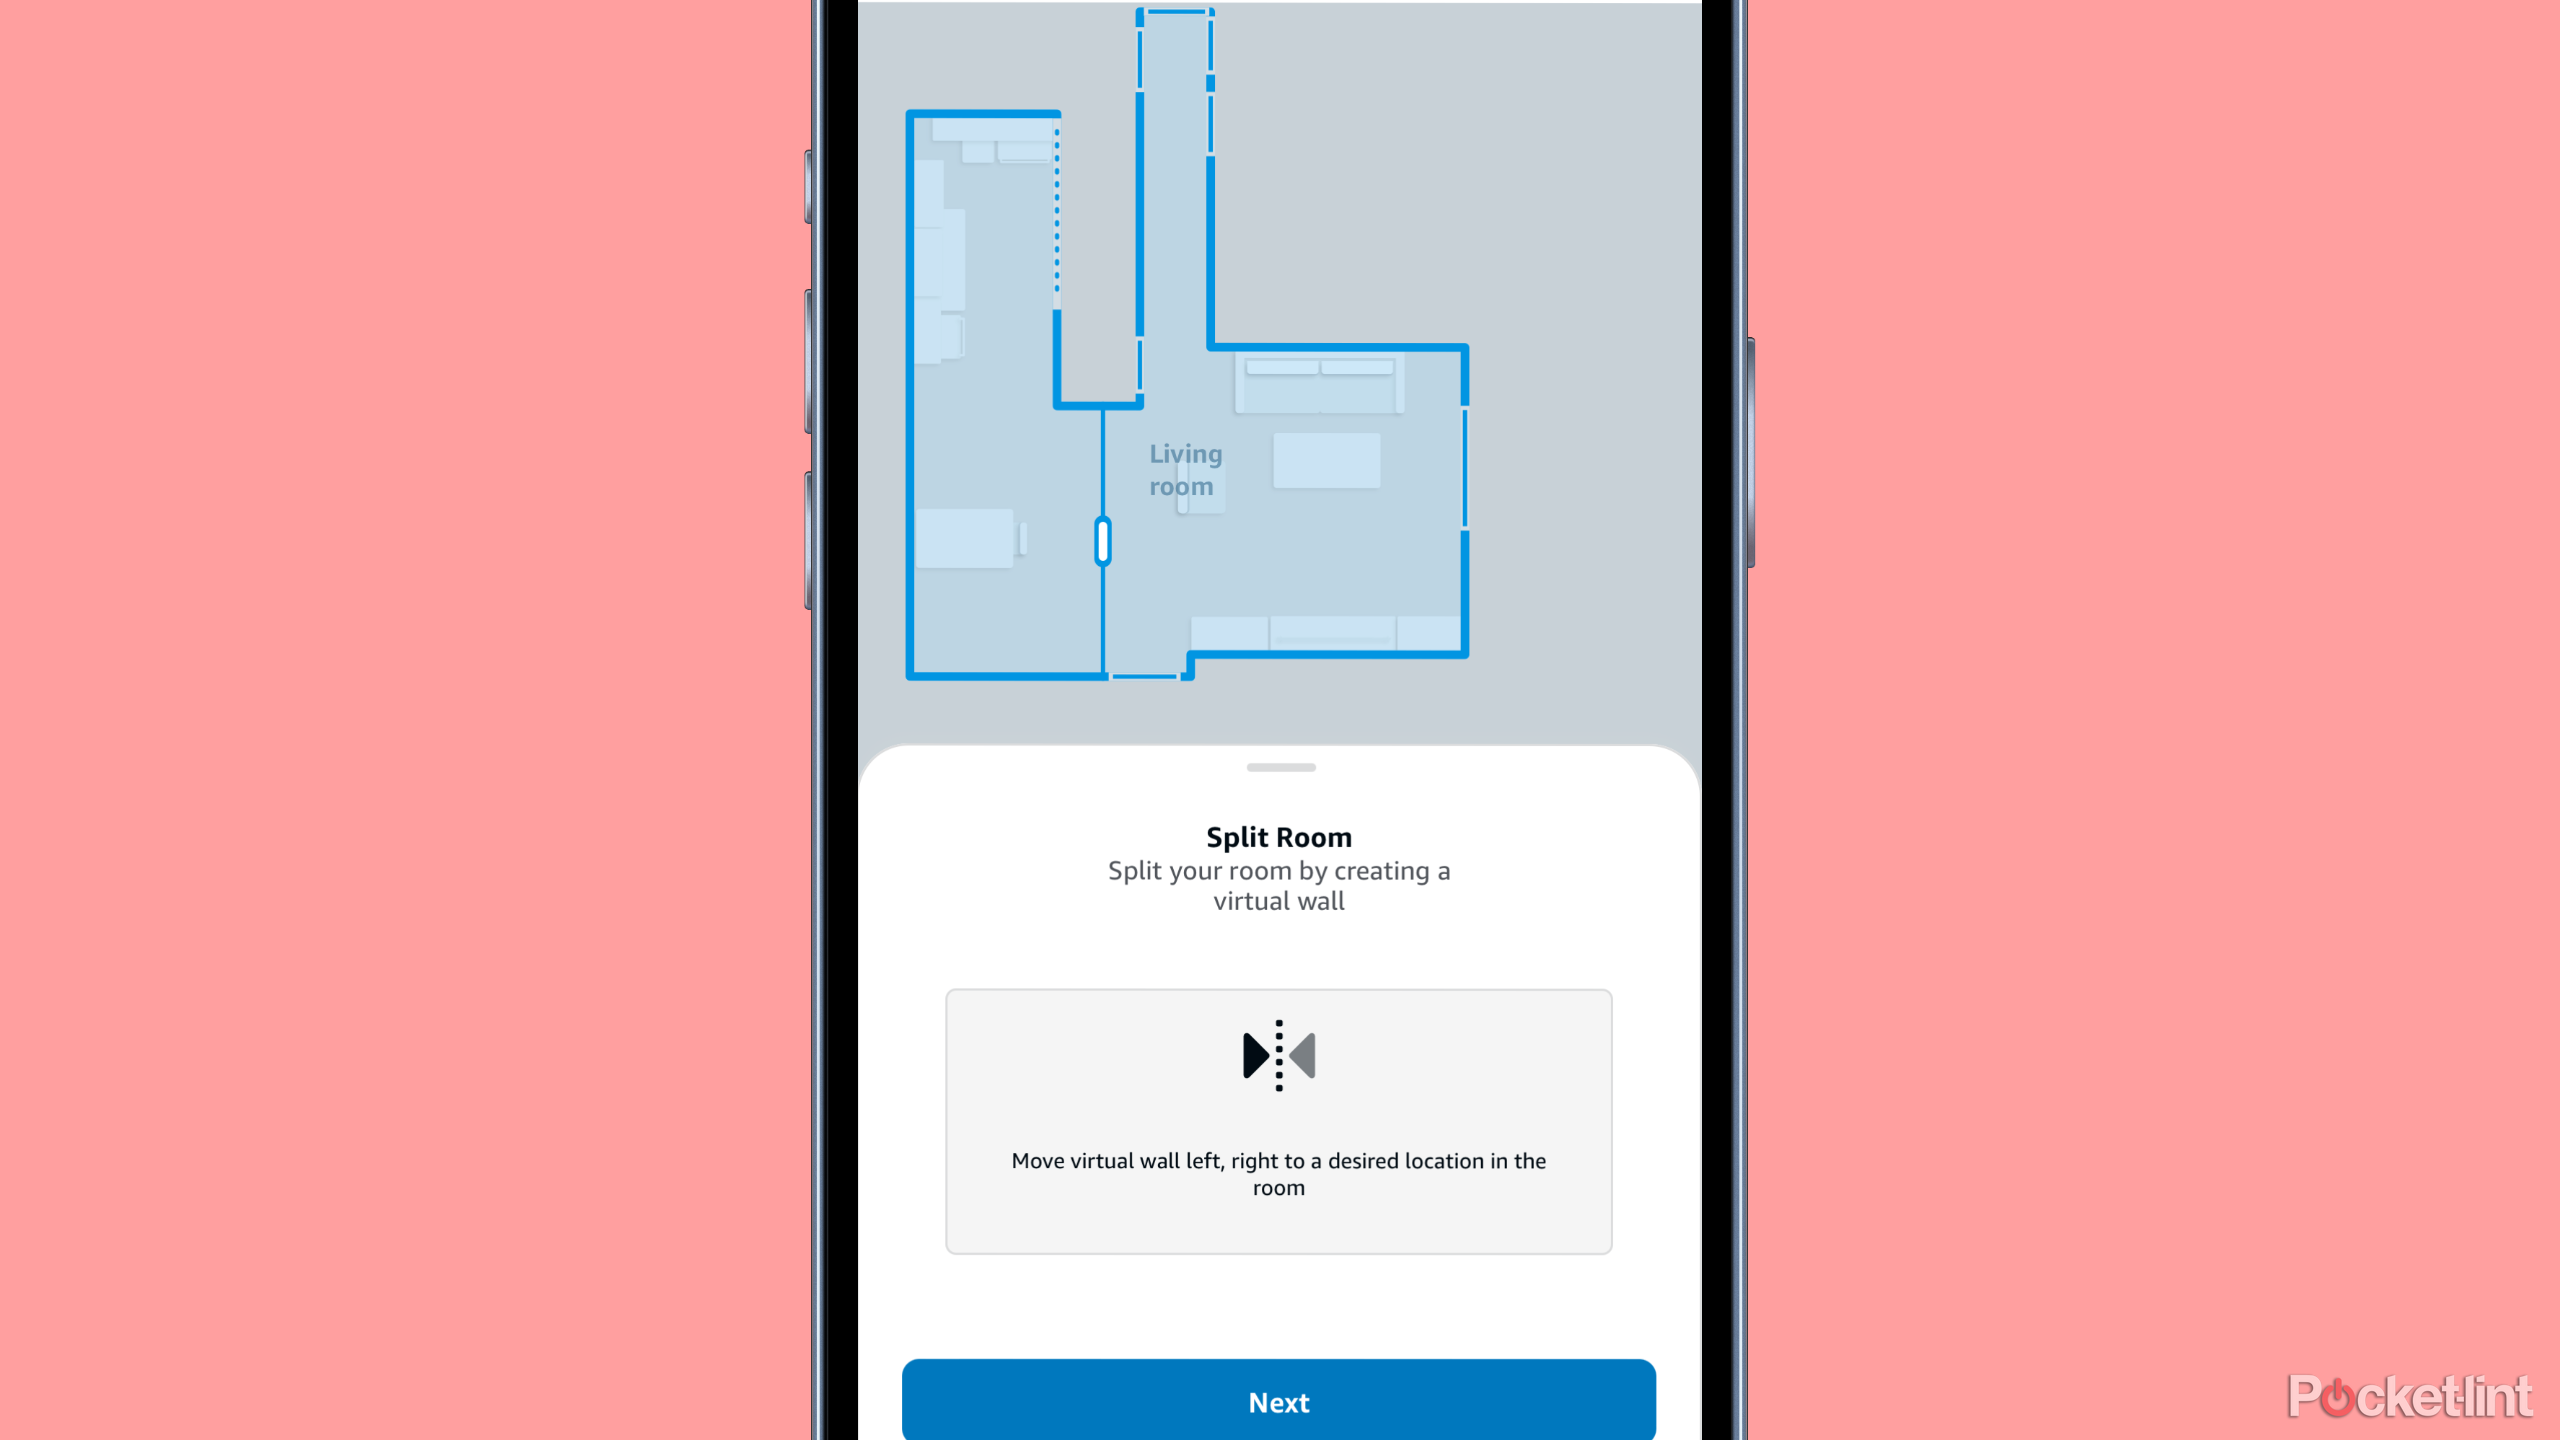
During the process, you’ll be asked to scan one room at a time. In this case, a room counts as any continuous space not broken up by a doorway or staircase. However, if your home features a more open floor plan with a free flow between the kitchen, dining room, and living room, the Alexa App will allow you to manually place boundaries after the fact to split up larger spaces.
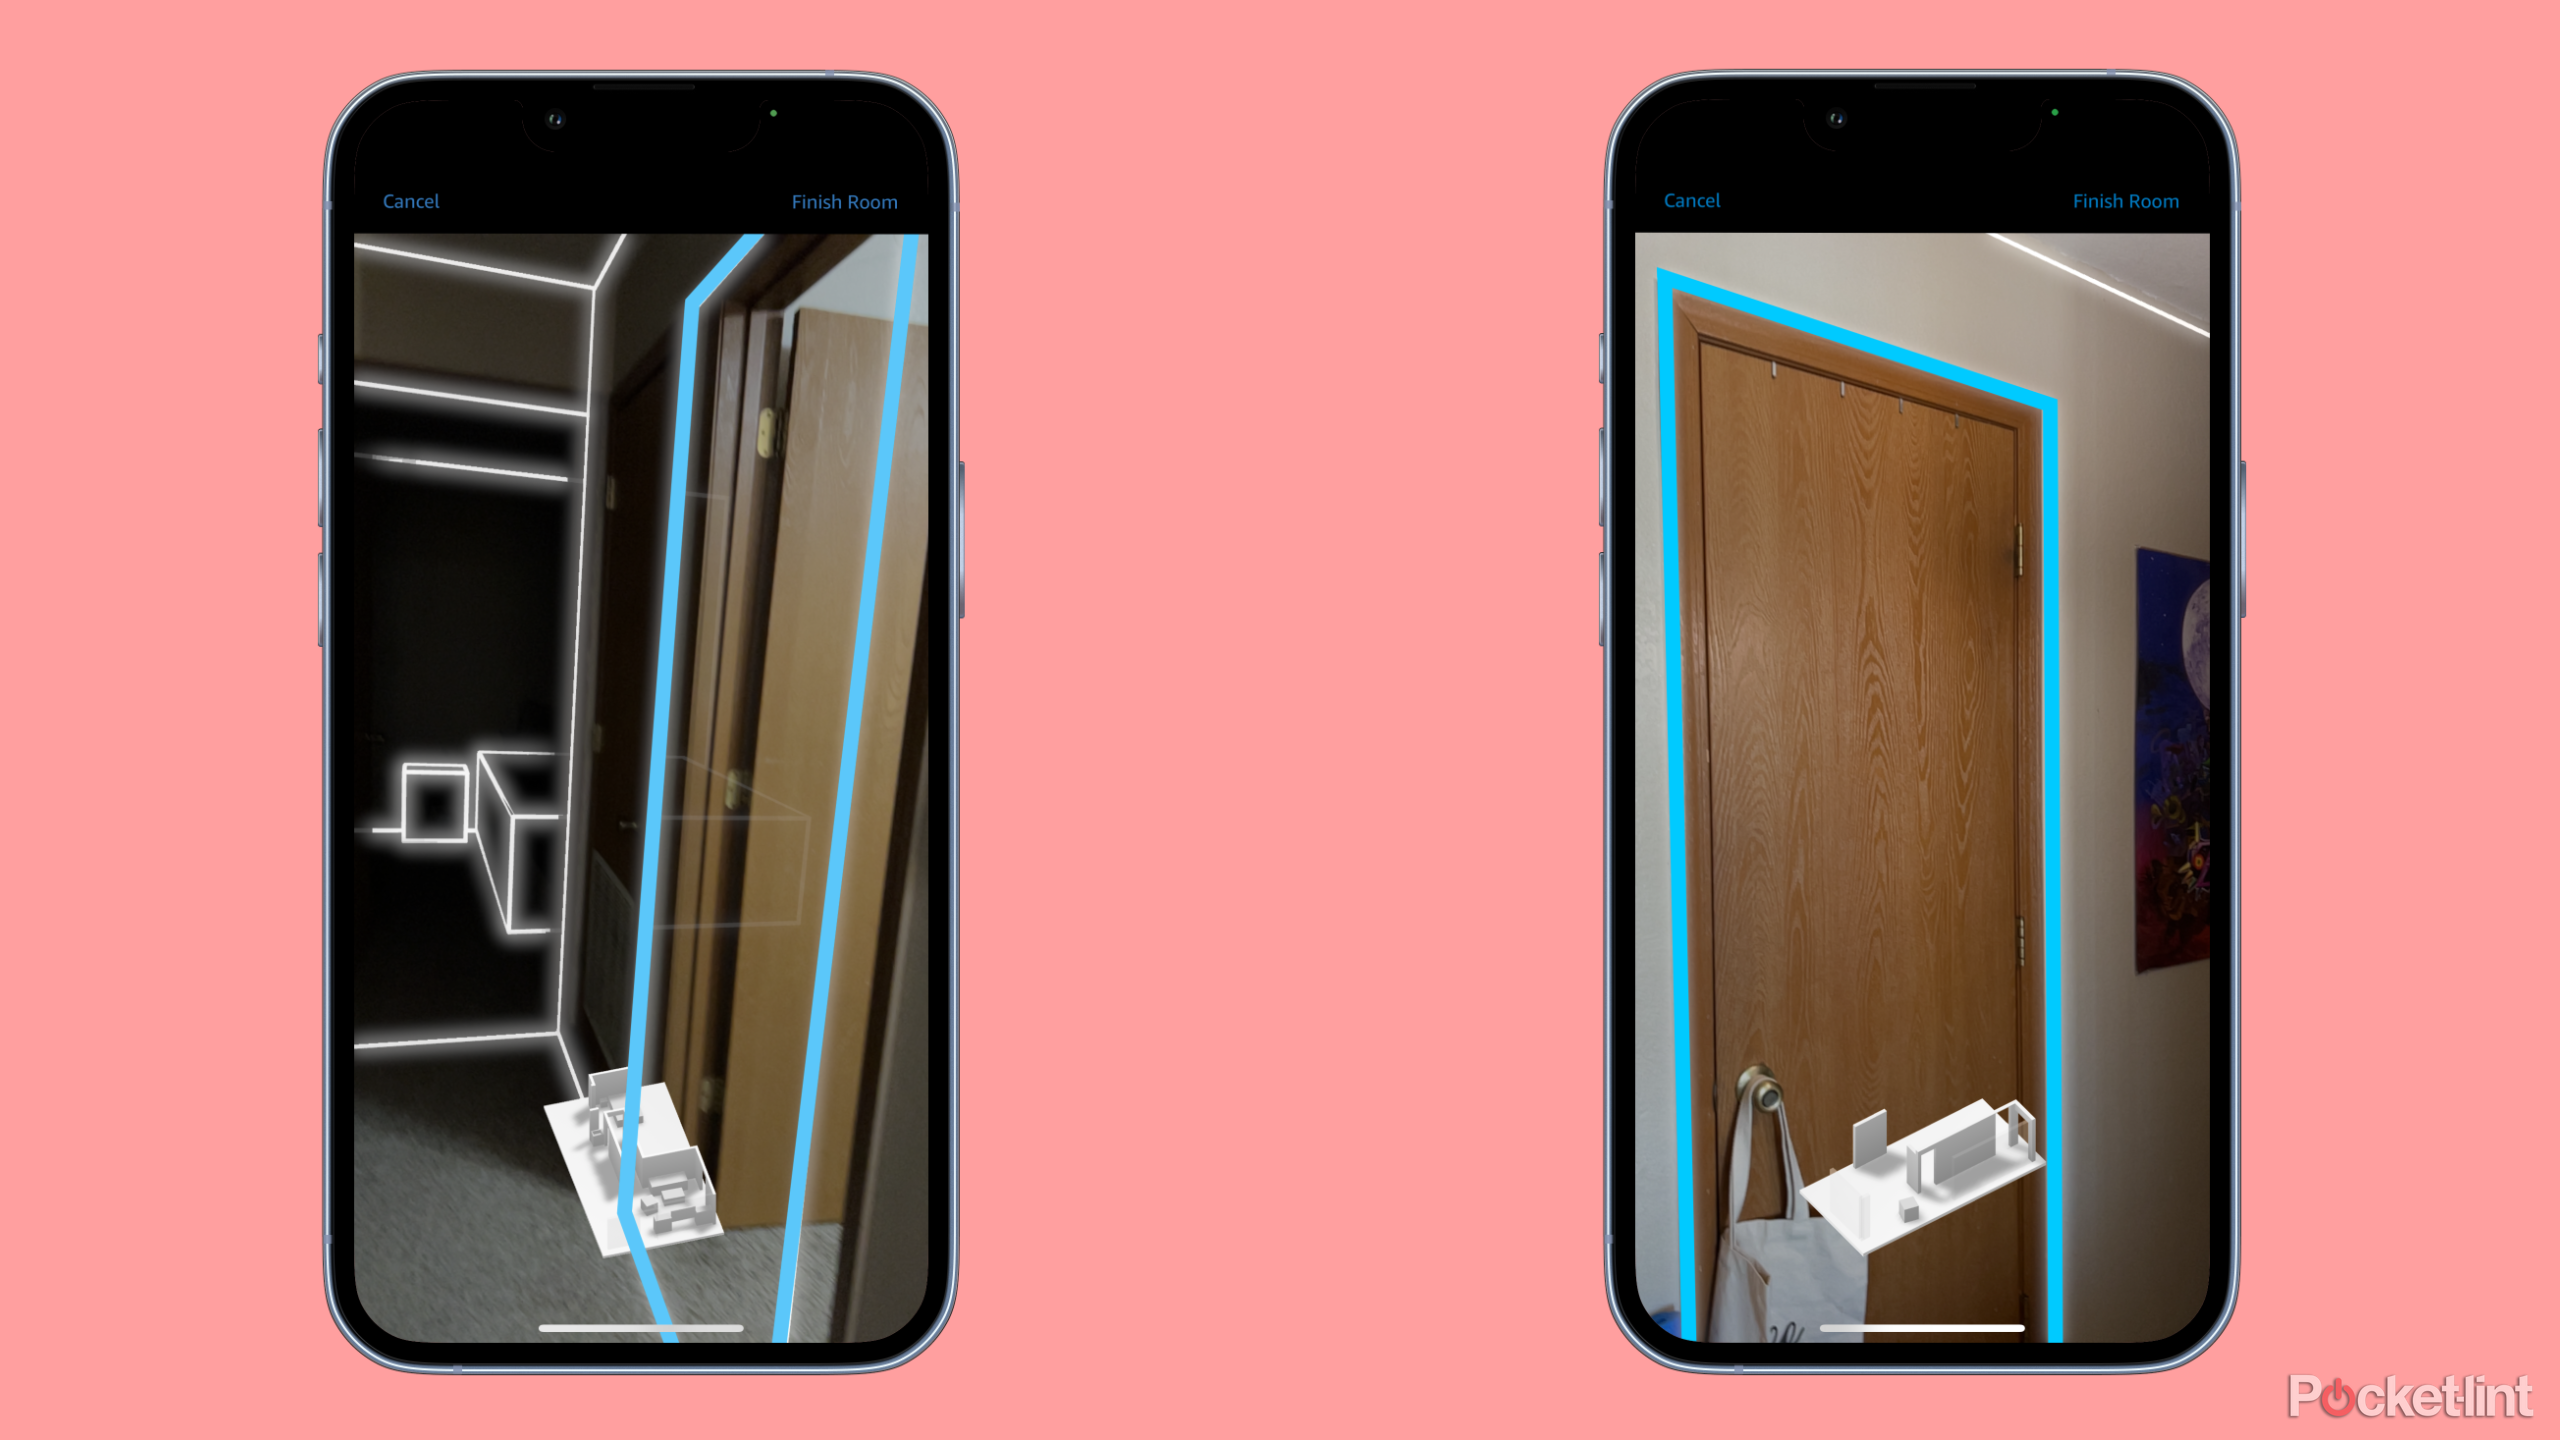
To help with the scanning process, everything is color-coded. Walls and furniture are outlined in white, while doorways between rooms are outlined in blue. While scanning, the app will take note of those doorways on the map. When adding a new room, you can simply tap which doorway this new room is accessed through.
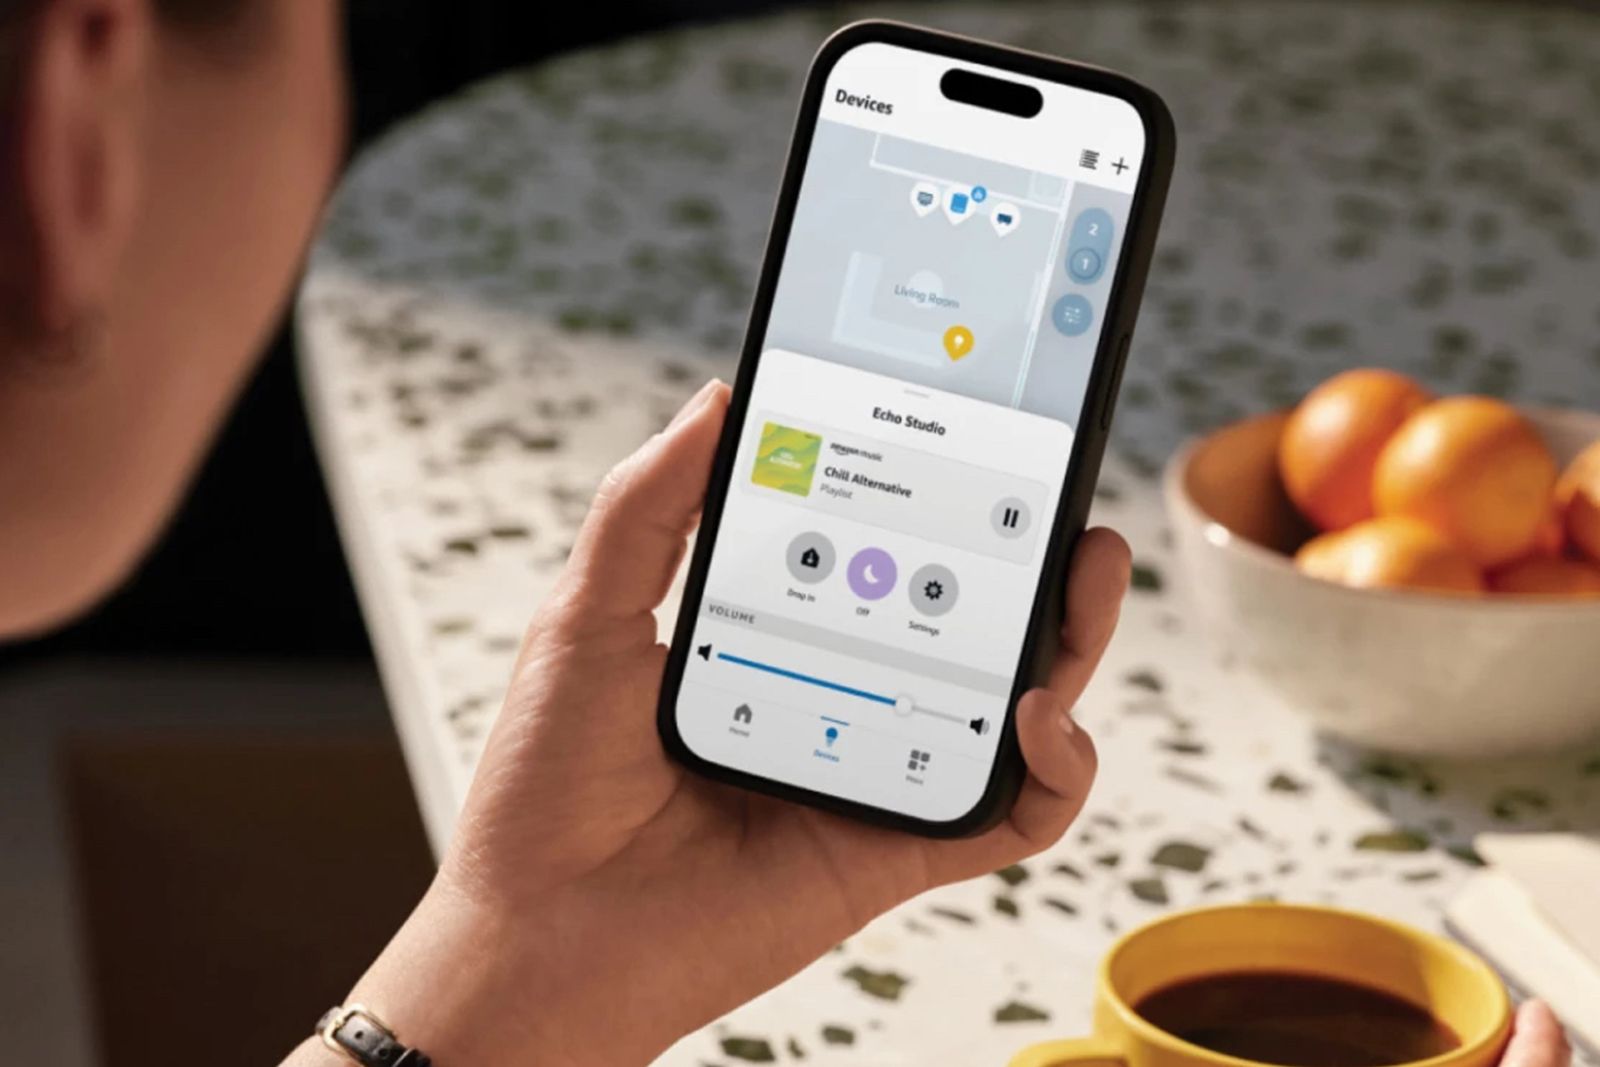
What is Alexa Map View and how can I get it?
Control your smart devices from a map of your own home with Alexa Map View.
Once your floor plan is finished, you can name individual rooms and drag and drop all of your smart devices, so they show up on the map. If you already have rooms set up within your Alexa smart network, you’ll be able to assign your pre-existing room names to the newly scanned ones.
How to edit your floor plan in Alexa Map View
If you made any mistakes, or you just need to rescan for any reason at all, editing your floor plan is simple.
- Navigate to the Devices menu to view your floorplan.
- On the right-hand side of the screen, tap the Settings button.
- In the menu that appears, tap Edit Floor Plan.
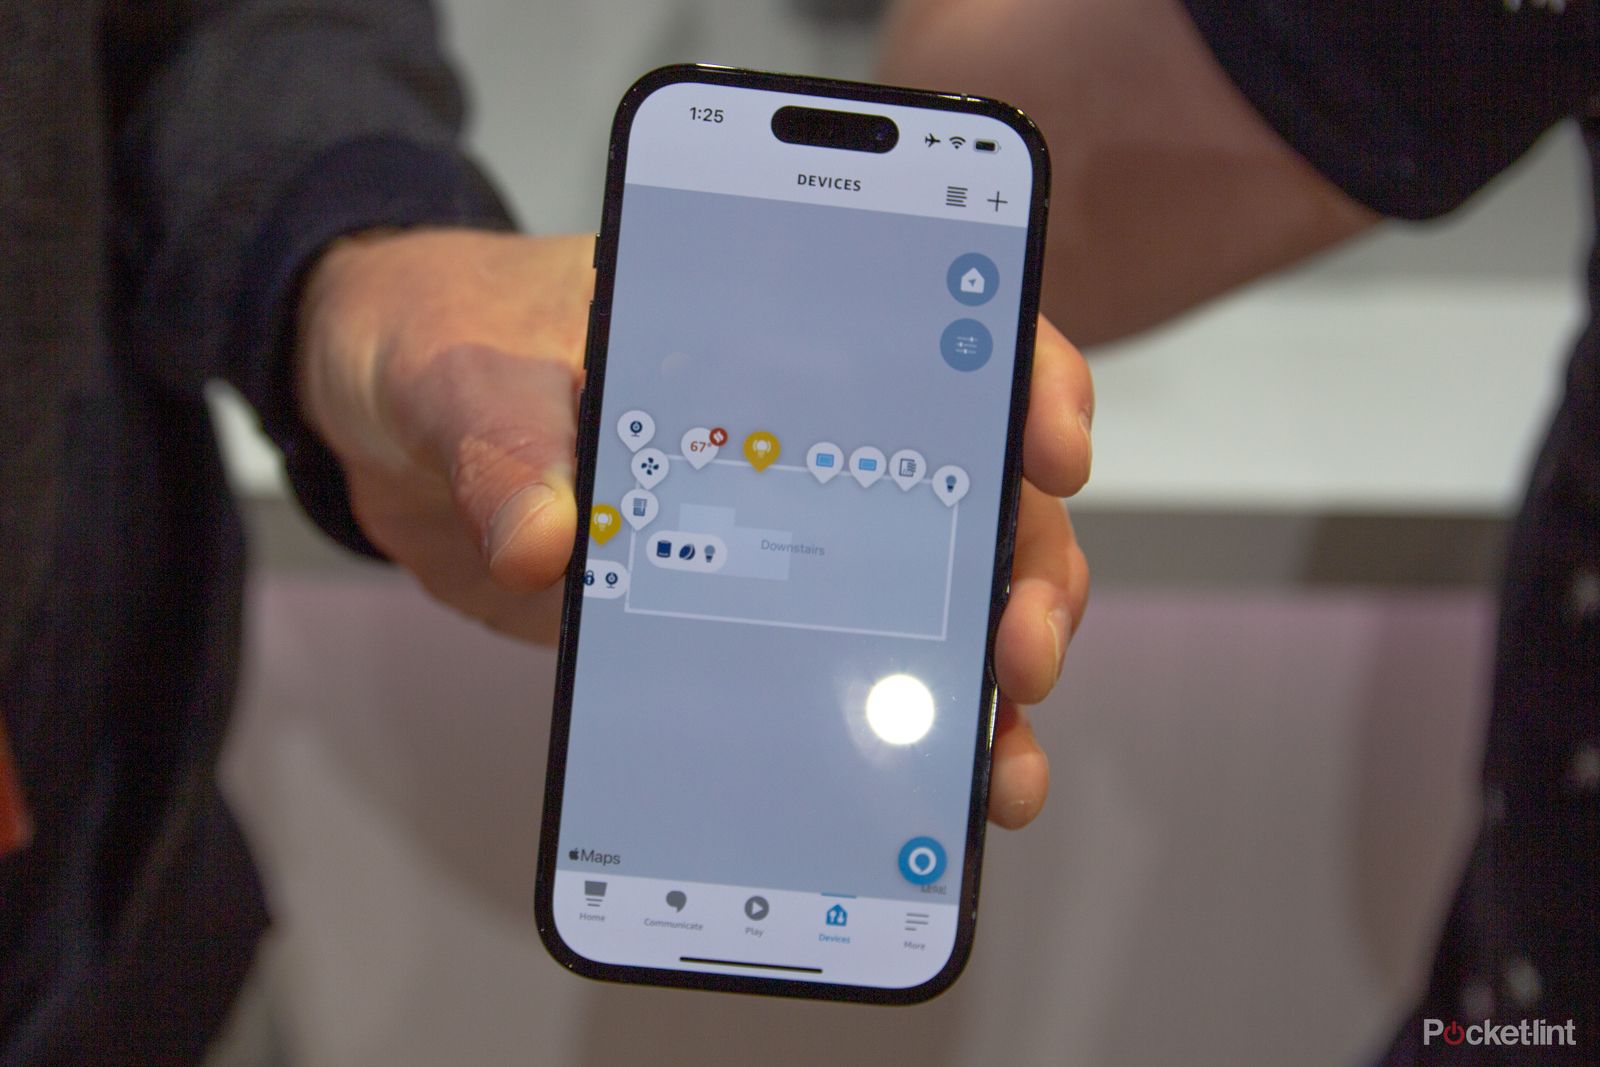
Alexa Map View is only going to be available on iPhone — and even not all iPhones
Amazon has announced a new way to view your smart home devices with a Map View in the Alexa app – but it only works with one brand of phone right now.
Once you’ve tapped the Edit Floor Plan button, you’ll be presented with the same screen as when you were initially adding rooms and scanning. From here you’ll be able to add both additional rooms and floors. You can also scrap your entire floor plan to start over if you have moved into a new home.
How to use Map View
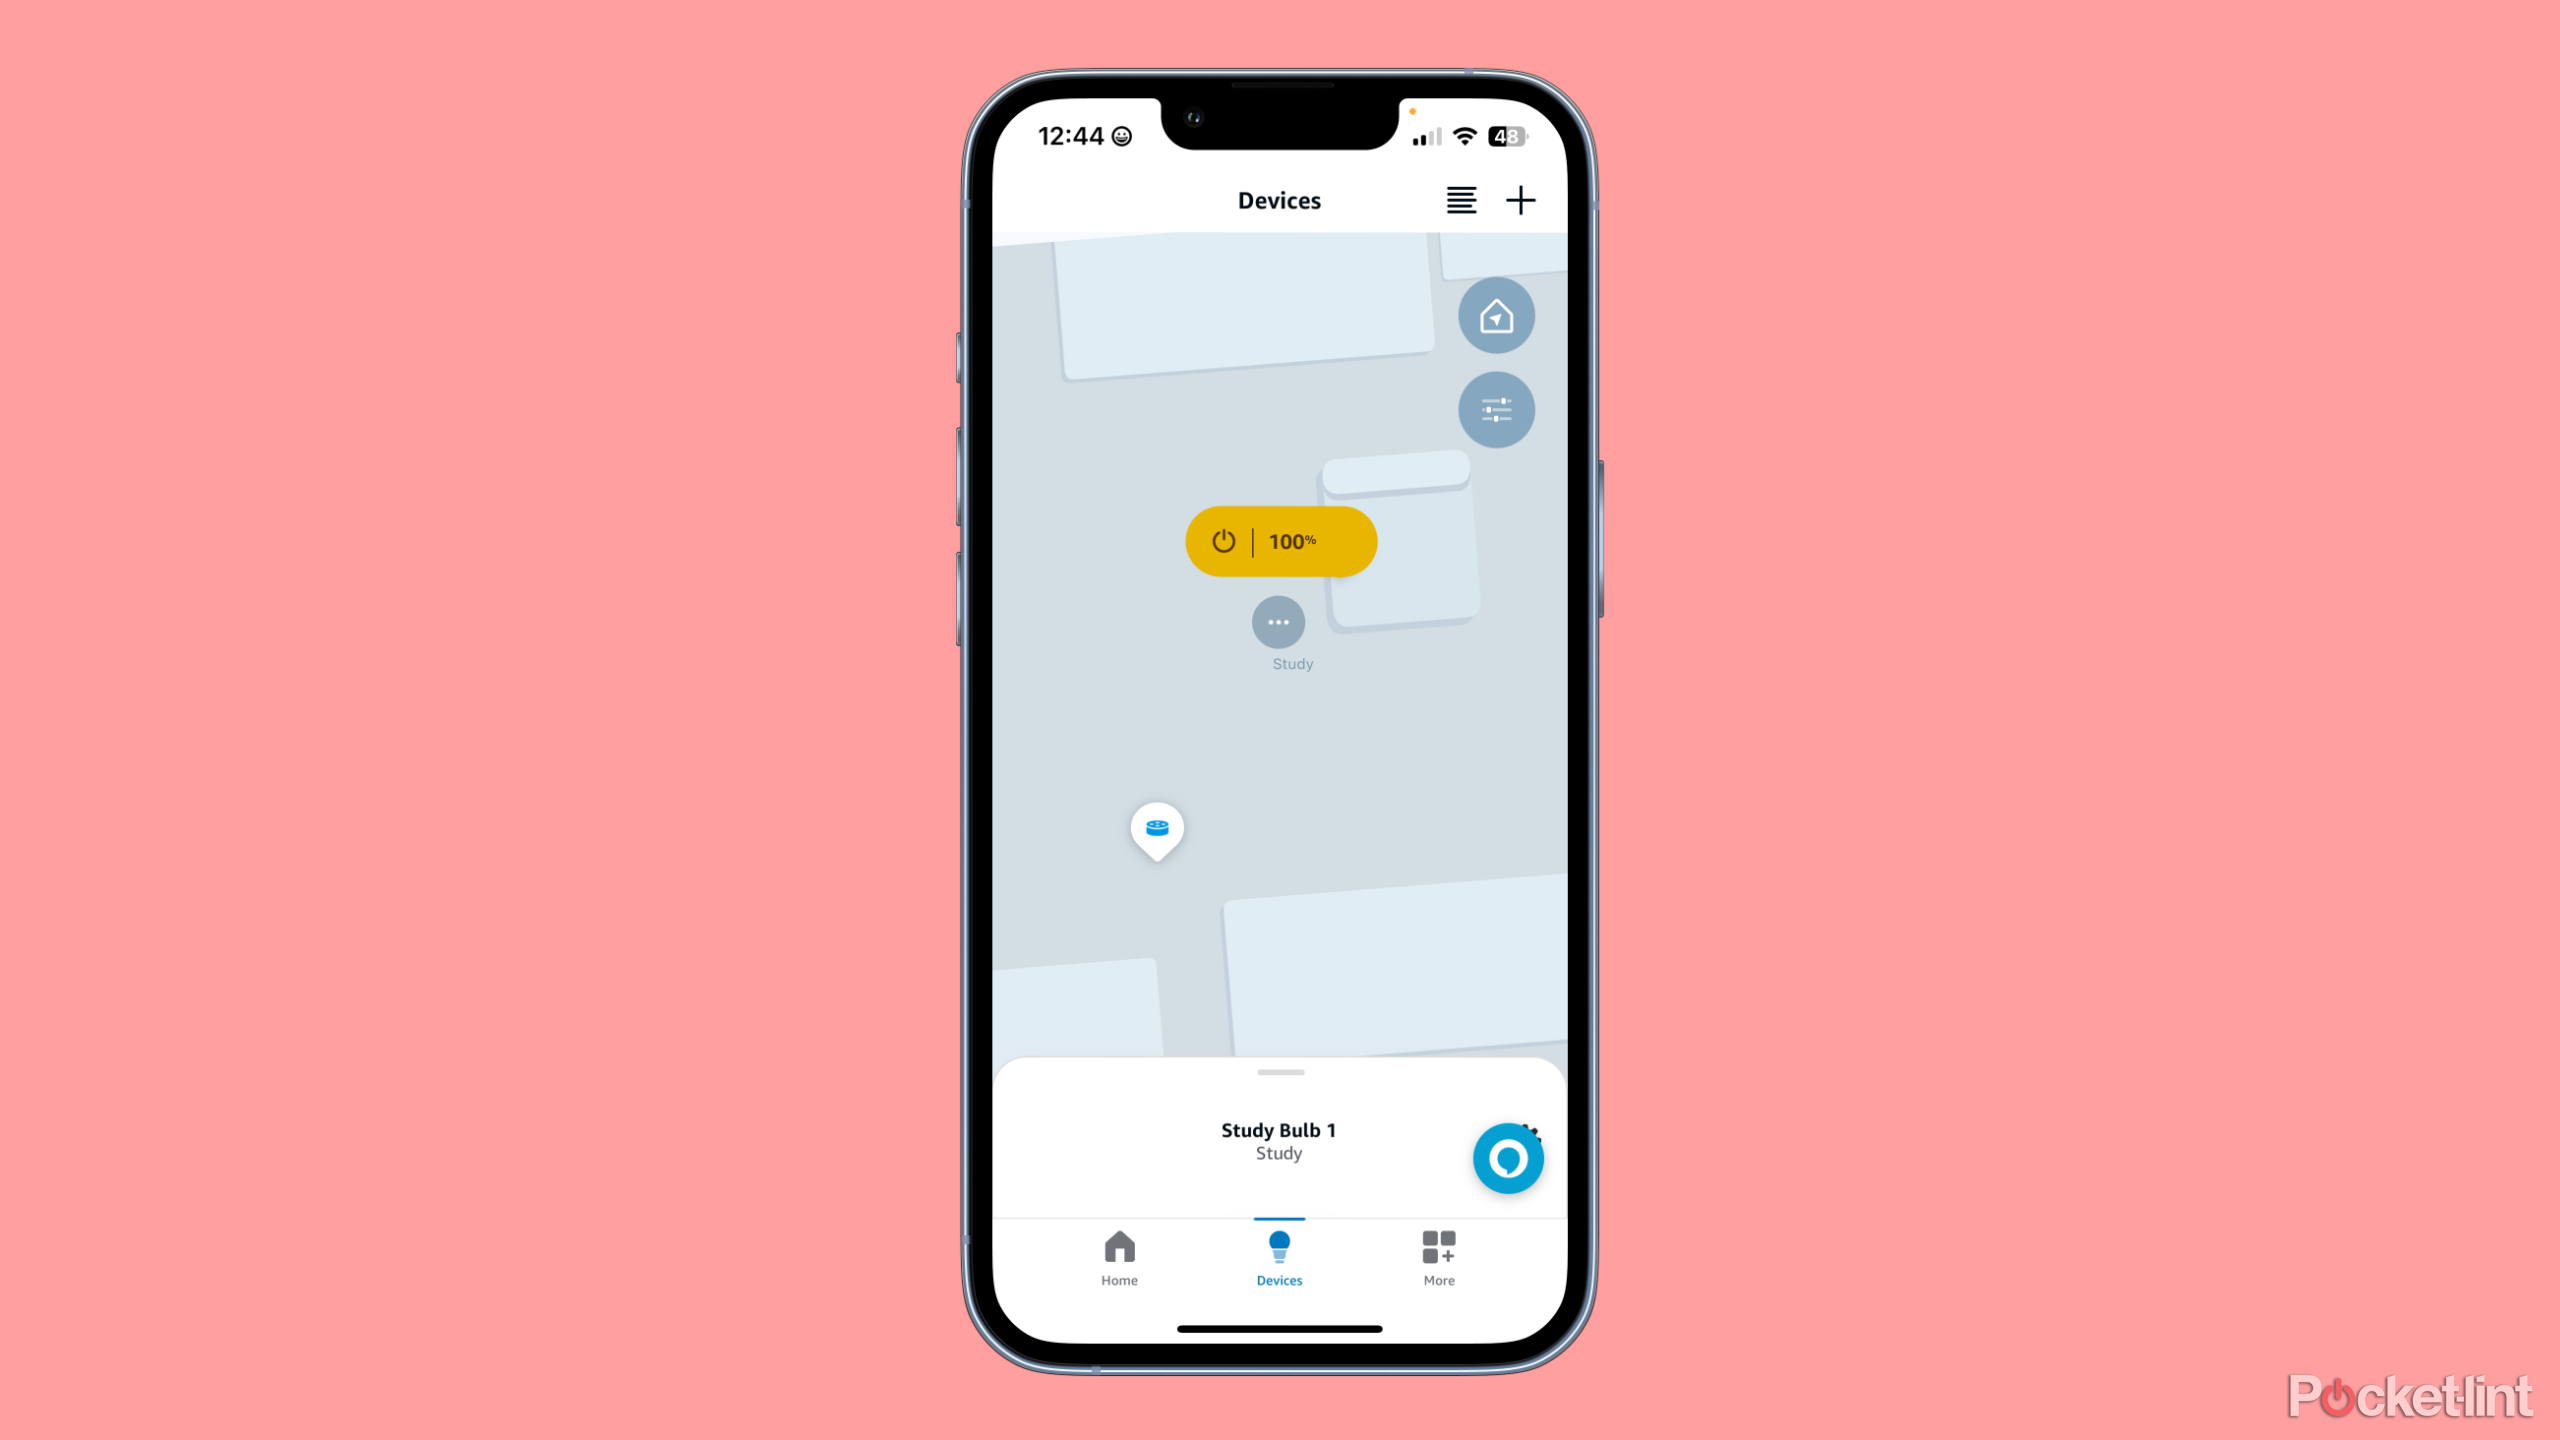
The biggest question with Map View may just be “Why?” After all, a new feature is only as good as the uses you have for it. With a map scanned in, you’ll be able to select within the Devices’ menu of the Alexa app whether you want the traditional list view or the Map View. With Map View, you can pan, rotate, and zoom around the map to select all the Smart Devices throughout your home.
The map you’ve scanned in is viewable on the iOS and iPadOS versions of the Alexa app. Your mileage will vary depending on how useful you find using the map. If you have a variety of smart devices in your home, or a large space to make a map of, you may find the view to be incredibly useful.
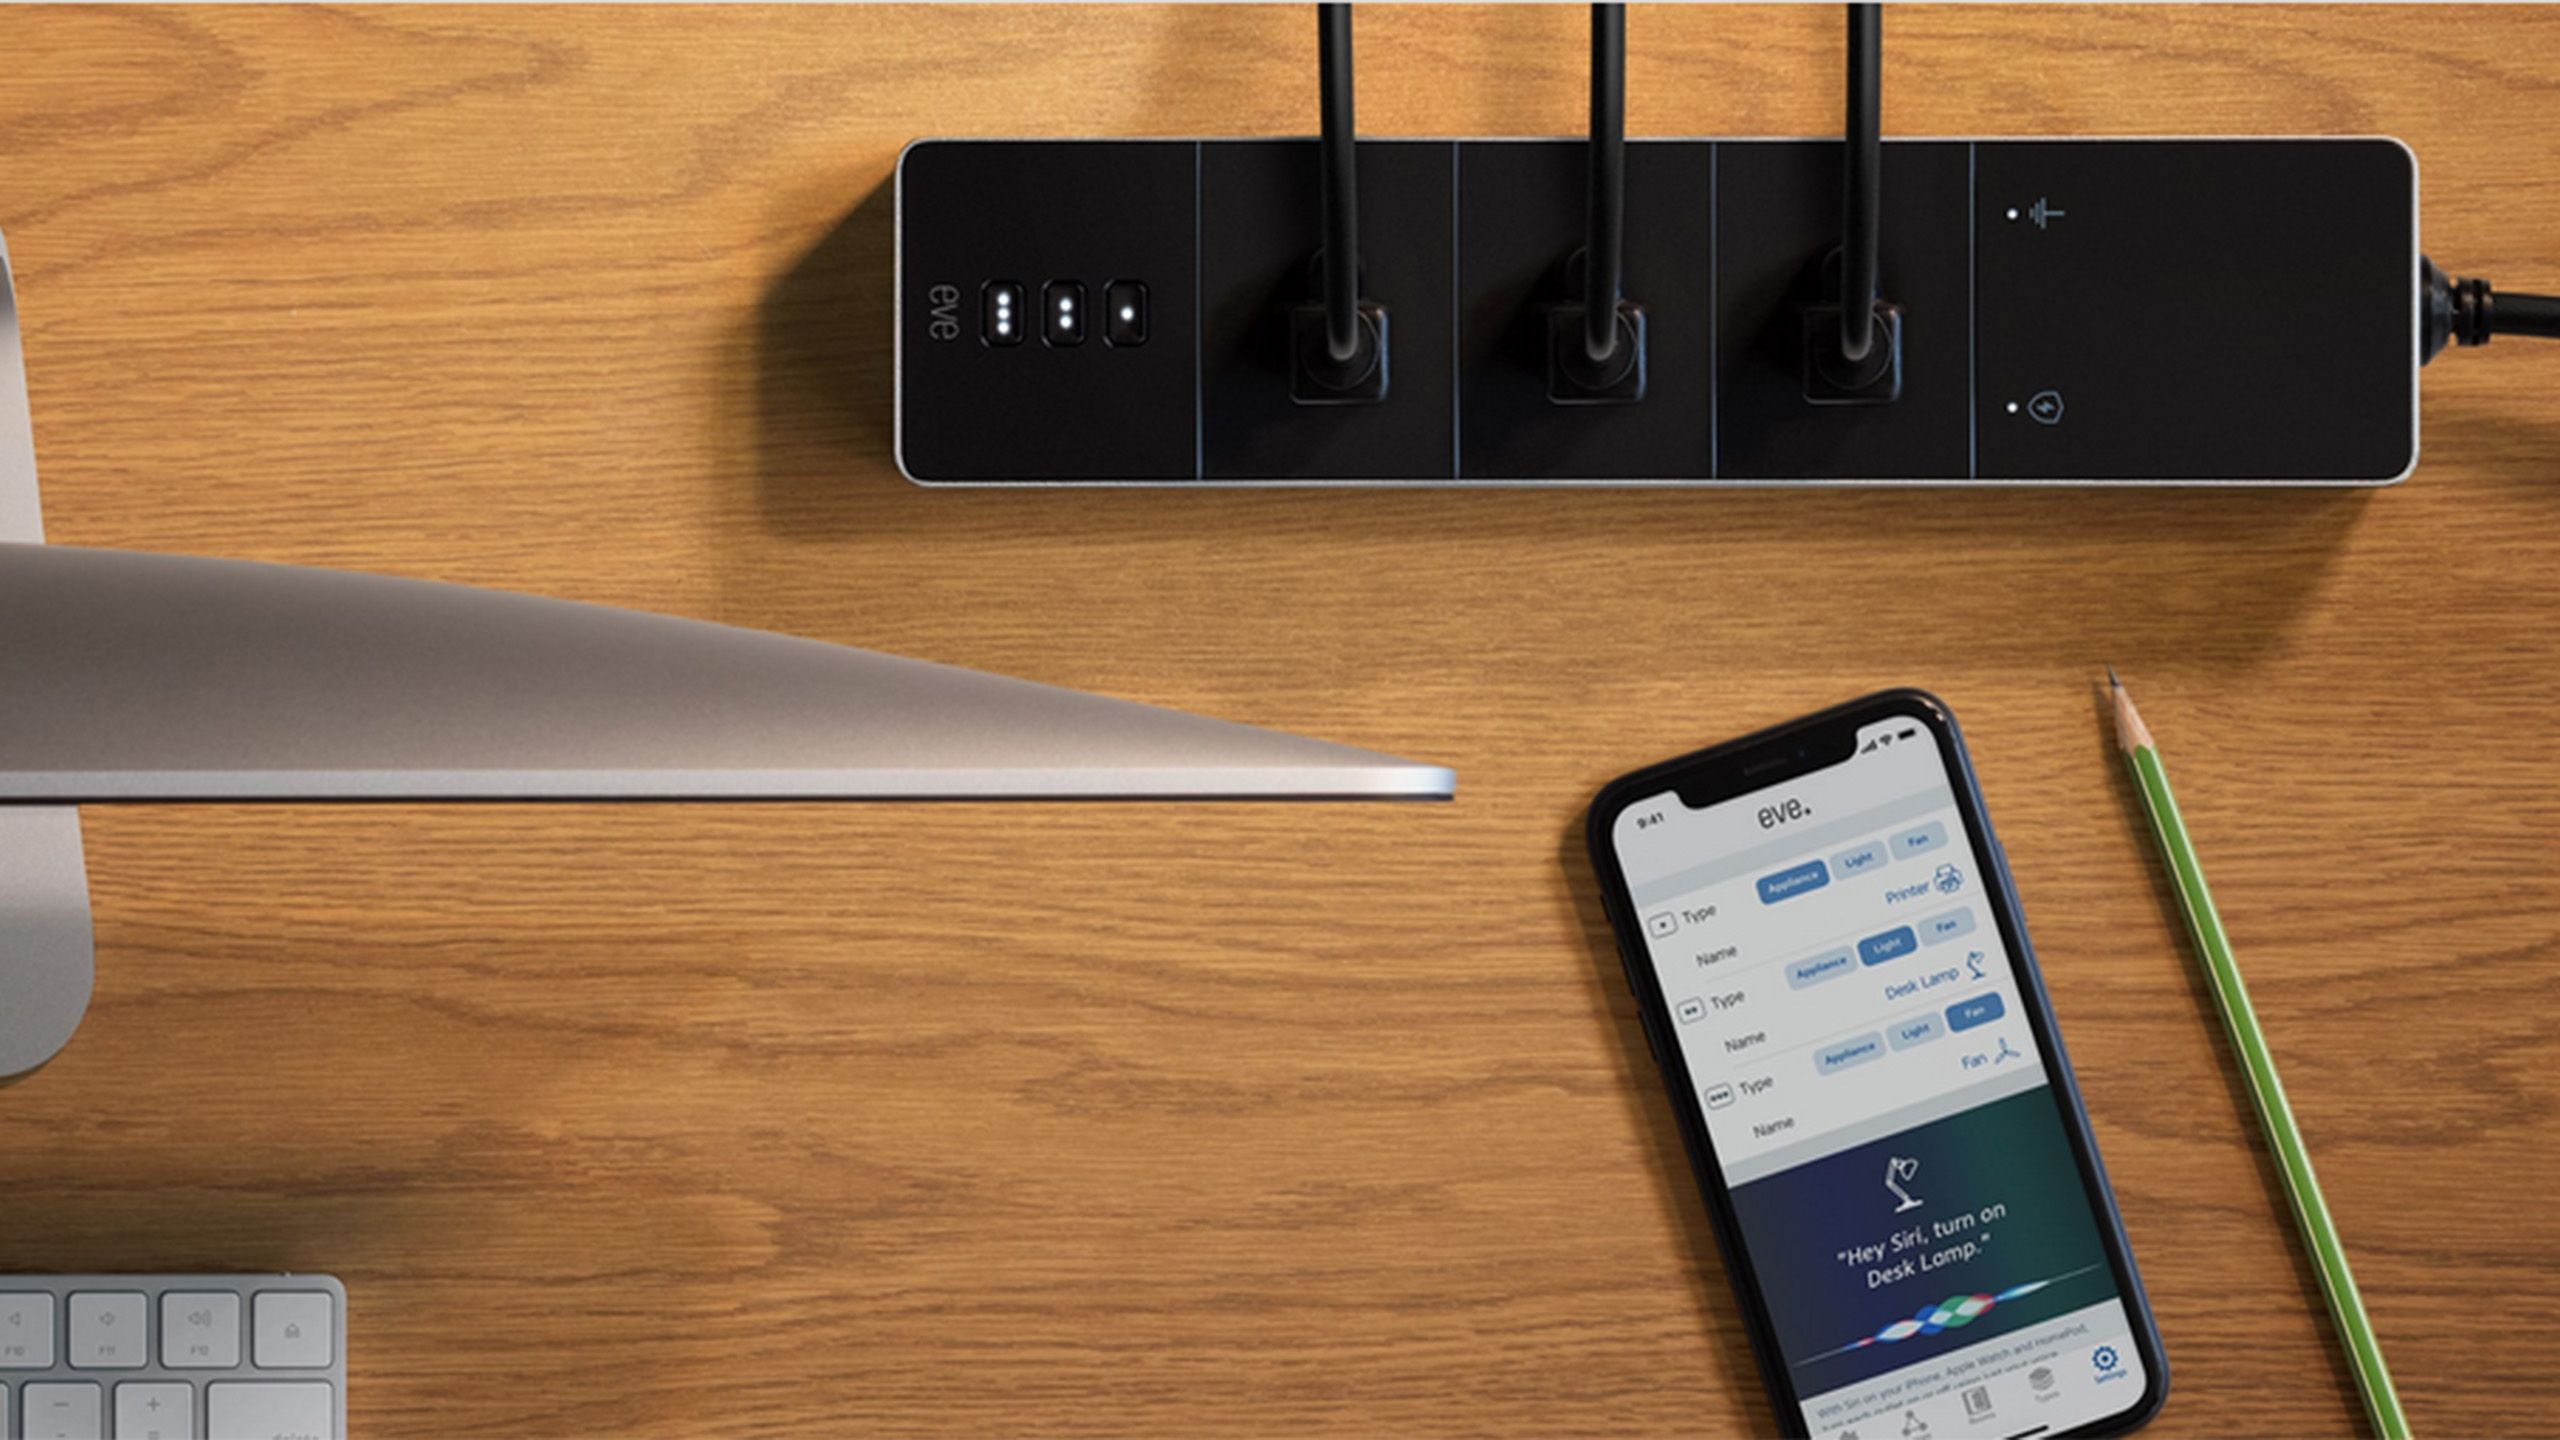
Best smart power strips: Connect and control all of your devices with minimal fuss
You’ve heard of a smart plug. Well, smart power strips are that, but on steroids.
At a glance, Map View does offer a much more organized view than the main list view. Rather than the unorganized list of every single device in your home, Map View allows you to view them sectioned off, all on the same screen.
Much like selecting a room in the broader list view, you can tap on any room in Map View to single in on the smart devices within that room. This will also give you the option to toggle all devices in that room on or off. When viewing a single floor overall, you can toggle every device on that floor.
Trending Products

